How to Build a Garden Room in Less than 10 Steps
DIY Garden Rooms: How to self-build your own dream Garden Room
A self-build garden room can be a budget-friendly way to get the room of your dreams where you can relax, work, or make space for your hobby. With a little planning and some basic DIY skills, you can add that extra space to your home using a self-build garden room kit. Pent Haus provides you with an easy construction kit that simplifies the process and equipment needed, so you can build your dream garden room in as little as 3 days and less than 10 steps.
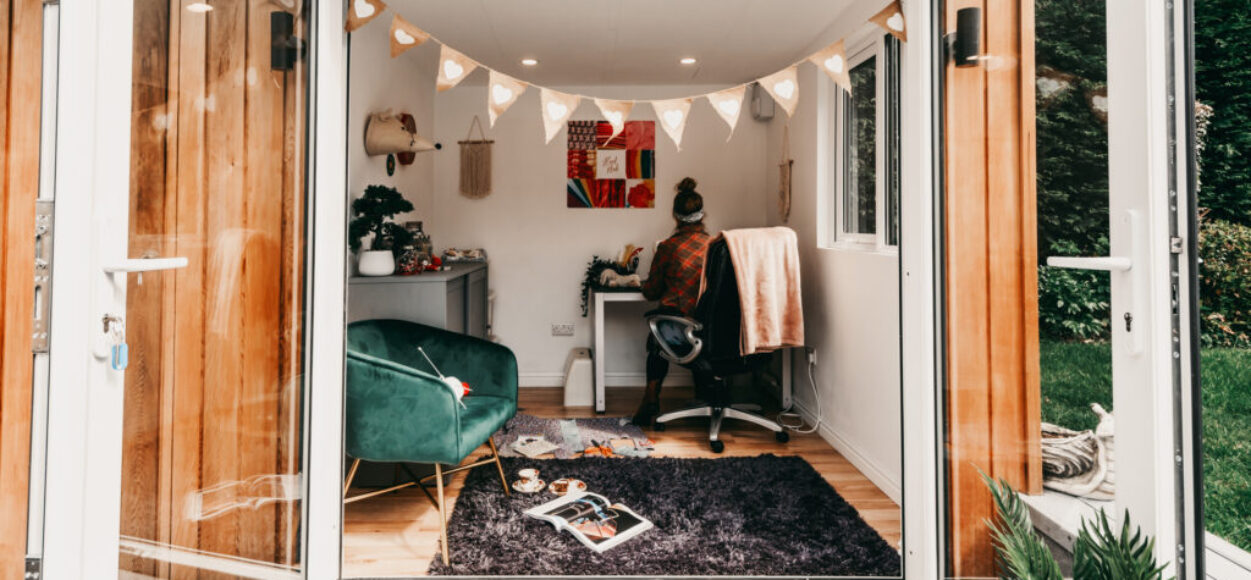
In less than 10 steps you can transform your garden. In this guide, we have broken down the steps involved in building a garden room yourself. Also check out our blog here, on How Long It Takes to Build a Garden Room.
With Pent Haus, you can design your ideal room in 3 minutes with our configurator, it can be manufactured in as little as 3 weeks, and built within 3 days!
Step 1: Plan Your Garden Room
Design, Location, and Permits
Before you start, think about how you want to use your garden room. Will it be a garden office, a garden yoga studio, an extra guest room, or a place to relax with a good book? The purpose will influence the design, size, and features you need.
Size – Think about marking out where you want your garden room to be using pegs and string or spray paint so that you can see what size you need.
Next, select a suitable spot in your garden. Here are some factors to think about:
- Sunlight – Ensure your room is getting light at the time of day you will be using it. Also, think about the shade it may cast in your garden.
- Privacy – is there a spot in your garden that will give you privacy?
- Access to utilities such as electricity and water. If you would like electricity and water, think about positioning your garden room in a spot that will give you easy access to utilities. We recommend consulting an expert to choose the right spot before you start building – this may save you going over budget in the long run!
- Ground Surface – Ensure you pick a spot that can fit your garden room and has a stable ground to build a foundation on. Also, think about how close to your boundary you can build your garden room to make the most of every inch of space in your garden.
Pent Haus has an innovative foundation system which can be built on any ground surface, even slopes! Plus, our designs mean you can build right up to your boundary!

Finally, it’s important to check local building regulations to see if you need any permits or if there are any restrictions on size and height. Usually, a garden room doesn’t need planning permission making it a budget-friendly way to add value to your home, but it is key to check!
Step 2: Choose Your Garden Room, and Get Your Materials
Time to start choosing your garden room kit! There are so many designs of DIY garden rooms to choose from, it’s important to do your research. Find the solution which is right for you considering the time needed to build it, quality, simplicity, and skill level. Keep in mind the complexity of the garden room, and your time, and skill level to build it. Quality is also an important factor – you don’t want to have to rebuild your garden room due to low-quality materials!
At Pent Haus, we offer a 10-year guarantee on all garden rooms, for peace of mind, plus customer service on hand to help you through your build.
Pent Haus includes all the materials you will need to build your garden room yourself, no specialist skills are required and it can take only 3 days! Meaning you don’t have to worry about an overly complex build project. Every supplier is different, so we always recommend checking what is included and how long it will take to build.
Order everything in plenty of time, and read all the instructions to ensure you have all the tools you need.
Design is also a very important factor to consider. Remember to take into account running costs, soundproofing, as well as windows and doors for light. All our garden rooms offer low running costs, no maintenance, and soundproofing, as well as customisable window, door and roof options.
Design your dream room with our configurator here, and make a garden room unique to you in 3 minutes!
Top Tip – To make your garden room cost-effective, compare the sizing options when shopping, it might be less than you think to add that extra metre.
Step 3: Building Your Garden Room’s Foundations
Clear the Area
Remove any grass, rocks, or debris from the chosen site. Prepare by marking out your area with string or spray paint, and checking it is flat using a laser level or the string method.
Top Tip: Build in more time than you think you need to clear the area – it takes longer than you think!
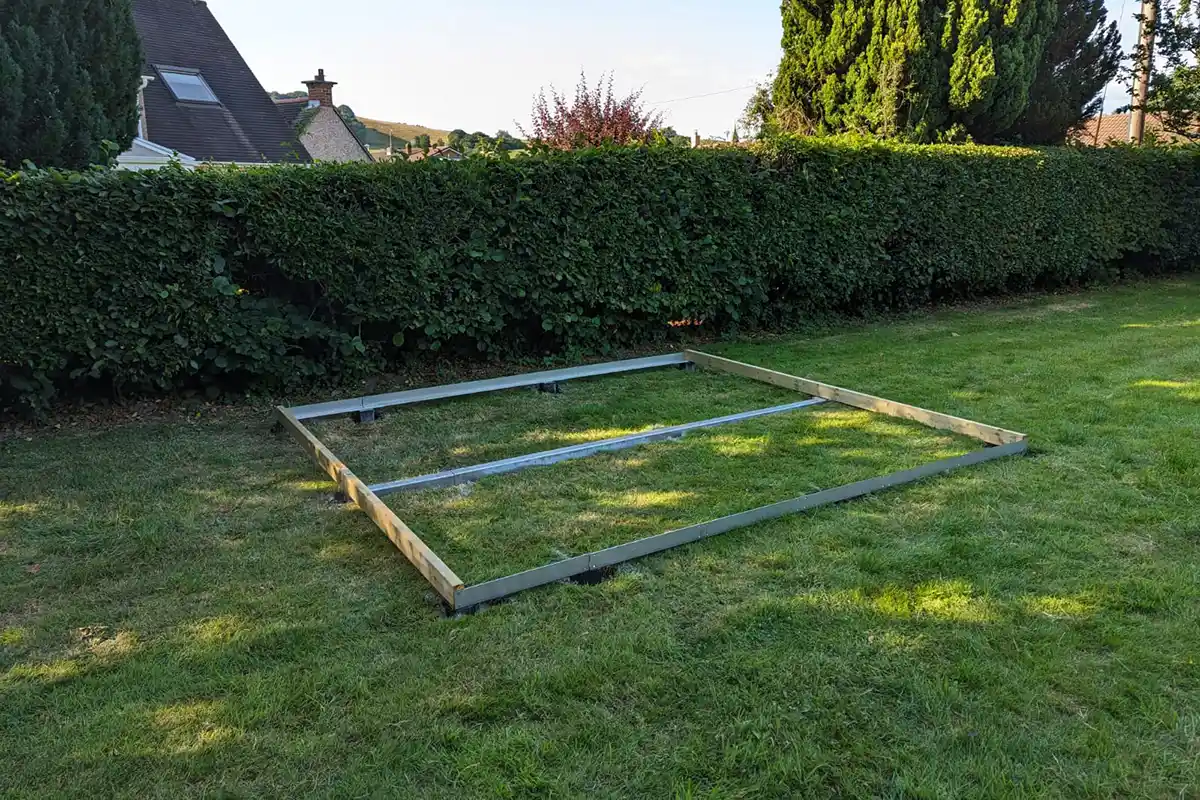
Lay the Foundation
Depending on your design and where your garden room kit is from will dictate what kind of foundation is needed. Concrete blocks or a timber frame are most common. Don’t worry about this being complicated – it is often simple to do as long as you ensure you are starting with a level base.
Pent Haus has an innovative, simple-to-build foundation which makes this step even easier!
4. Construction Materials
Don’t compromise on quality, or you may have to pay for costly maintenance or even replace your garden room altogether!
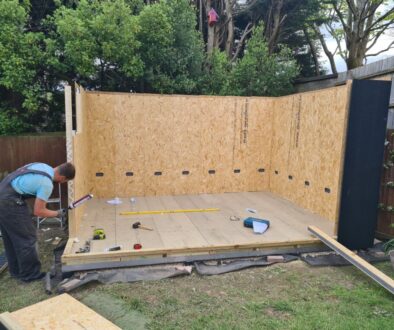
This is the mainframe to which you will then add your finishes (interior and exterior). These usually come pre-cut, but it’s worth checking this when purchasing your self-build garden room kit. You will start with the floor, and then add your walls, and finally, the roof. It’s key to checking everything is level as you go.
Pent Haus garden rooms have an innovative design which makes them easy to put together, plus the frame includes the exterior cladding to save you time and make your build as simple as possible!
Top Tip: Check whether your frame is treated or if you need to do this. Ensure you use material treated to stand the test of time outdoors to make your garden room low maintenance.
Step 5: Install Windows, Doors, and Insulation
In this step, you will first install your windows and doors. Followed by the roof lining and the roof itself.
At this stage, you will also install the interior wall panels and ceiling. Most people want an insulated garden room, so you will also need to install insulation if not already included in the panels you have installed. Here at Pent Haus, our garden room panels are already structurally insulated panels (SIPs), which offer highly efficient thermal values and exceptional strength, as well as soundproofing. This keeps our garden rooms warm in the winter and cool in the summer. It also means exceptionally low running costs – helping you stay on budget.
Think about Utilities
Make sure that at this stage you check whether your garden room kit requires you to install utilities such as electricity before the internal walls and floor.
Luckily, at Pent Haus, we have unique preformed channels and pre-cut sockets which enable you to run the cables discretely and easily. You can even install electrics after your garden room is installed to make it as simple as possible.
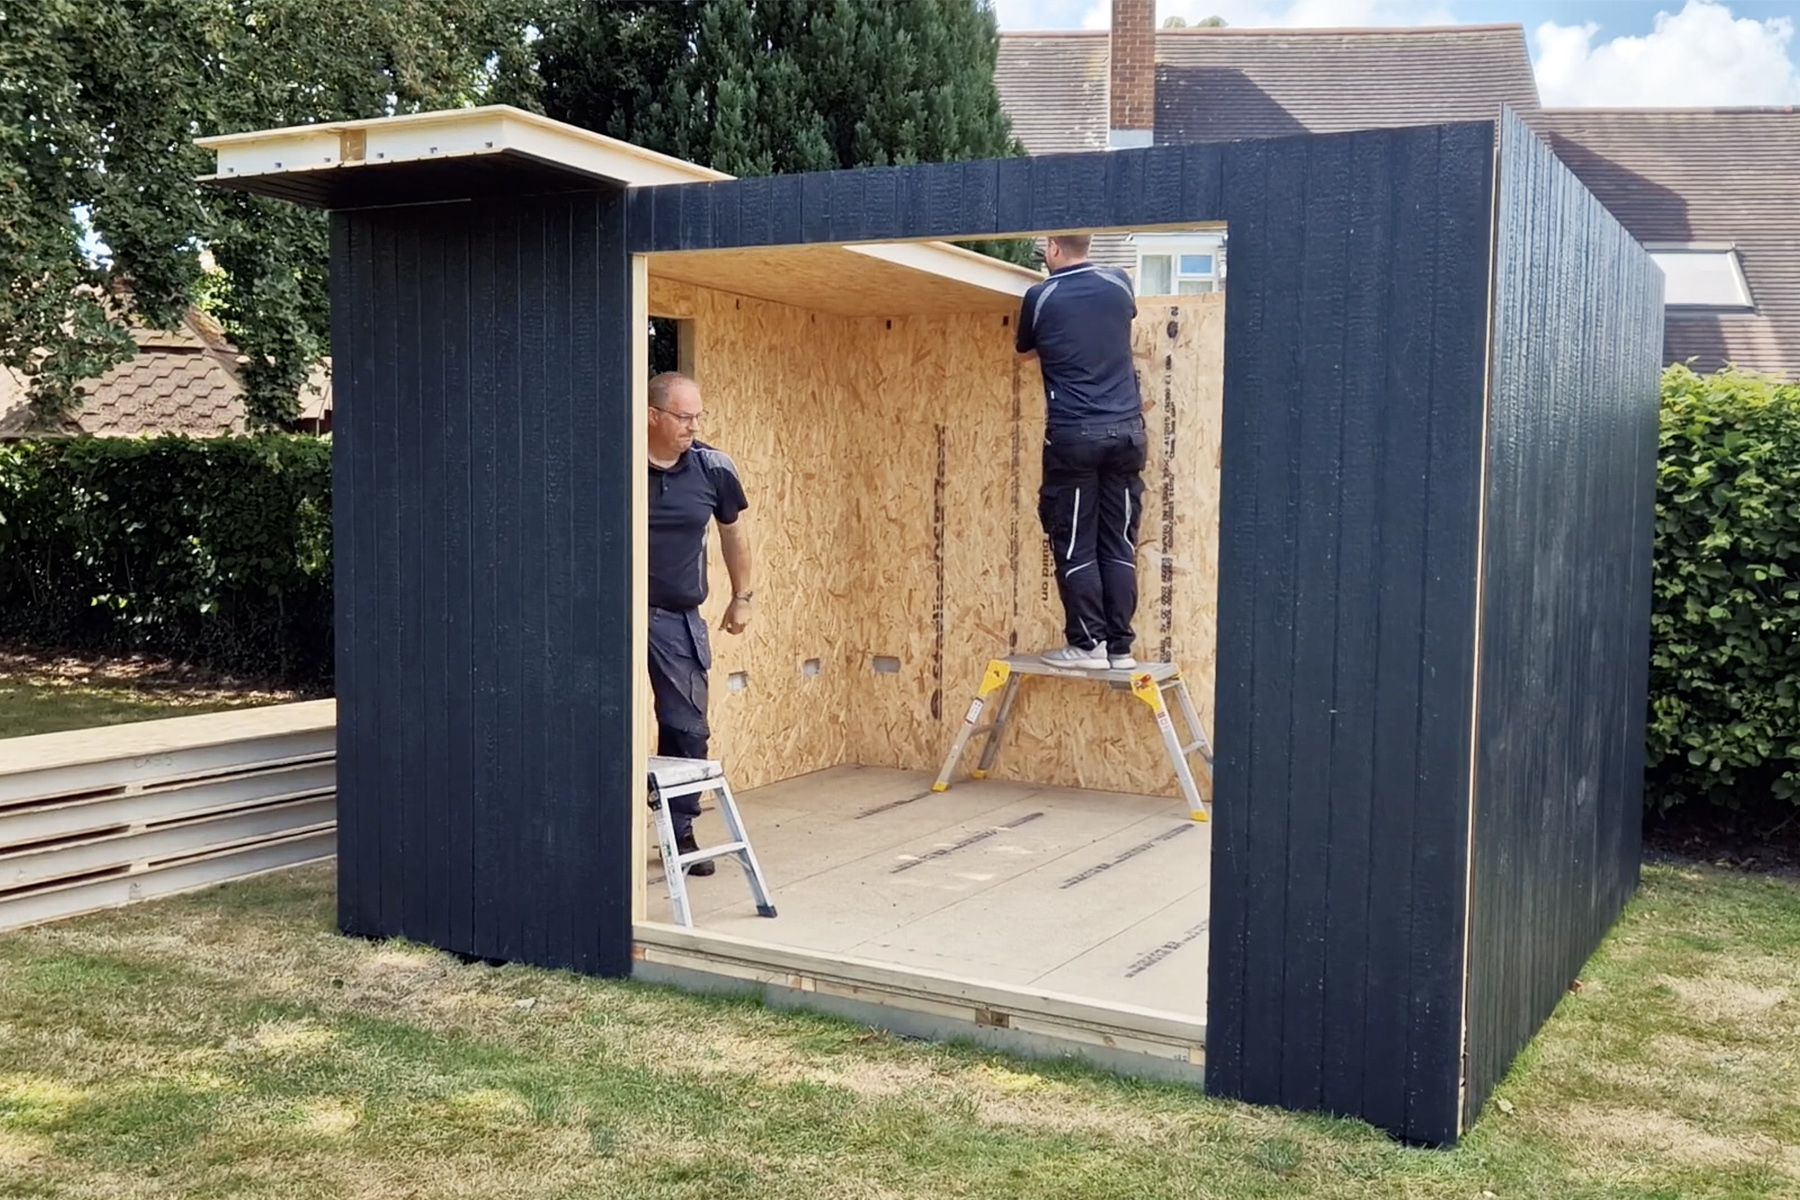
Top Tip: Ensure you check if your DIY garden room comes with pre-cut openings for your windows and doors (don’t worry, Pent Haus will have already done this for you!).
Step 6: Exterior Details
Decking and Pathways
It’s now time to start thinking about how you will access your garden room, and integrate it into your garden. Common options we see is a decking or paved area outside your garden room so you can enjoy outside dining or seating. You will also want to think about a step into your garden room, as well as a pathway to your new garden room from your home.
Check out our gallery here or our Instagram, to see how some of our clients have made beautiful decking and paving areas to integrate their garden room with their house and garden.
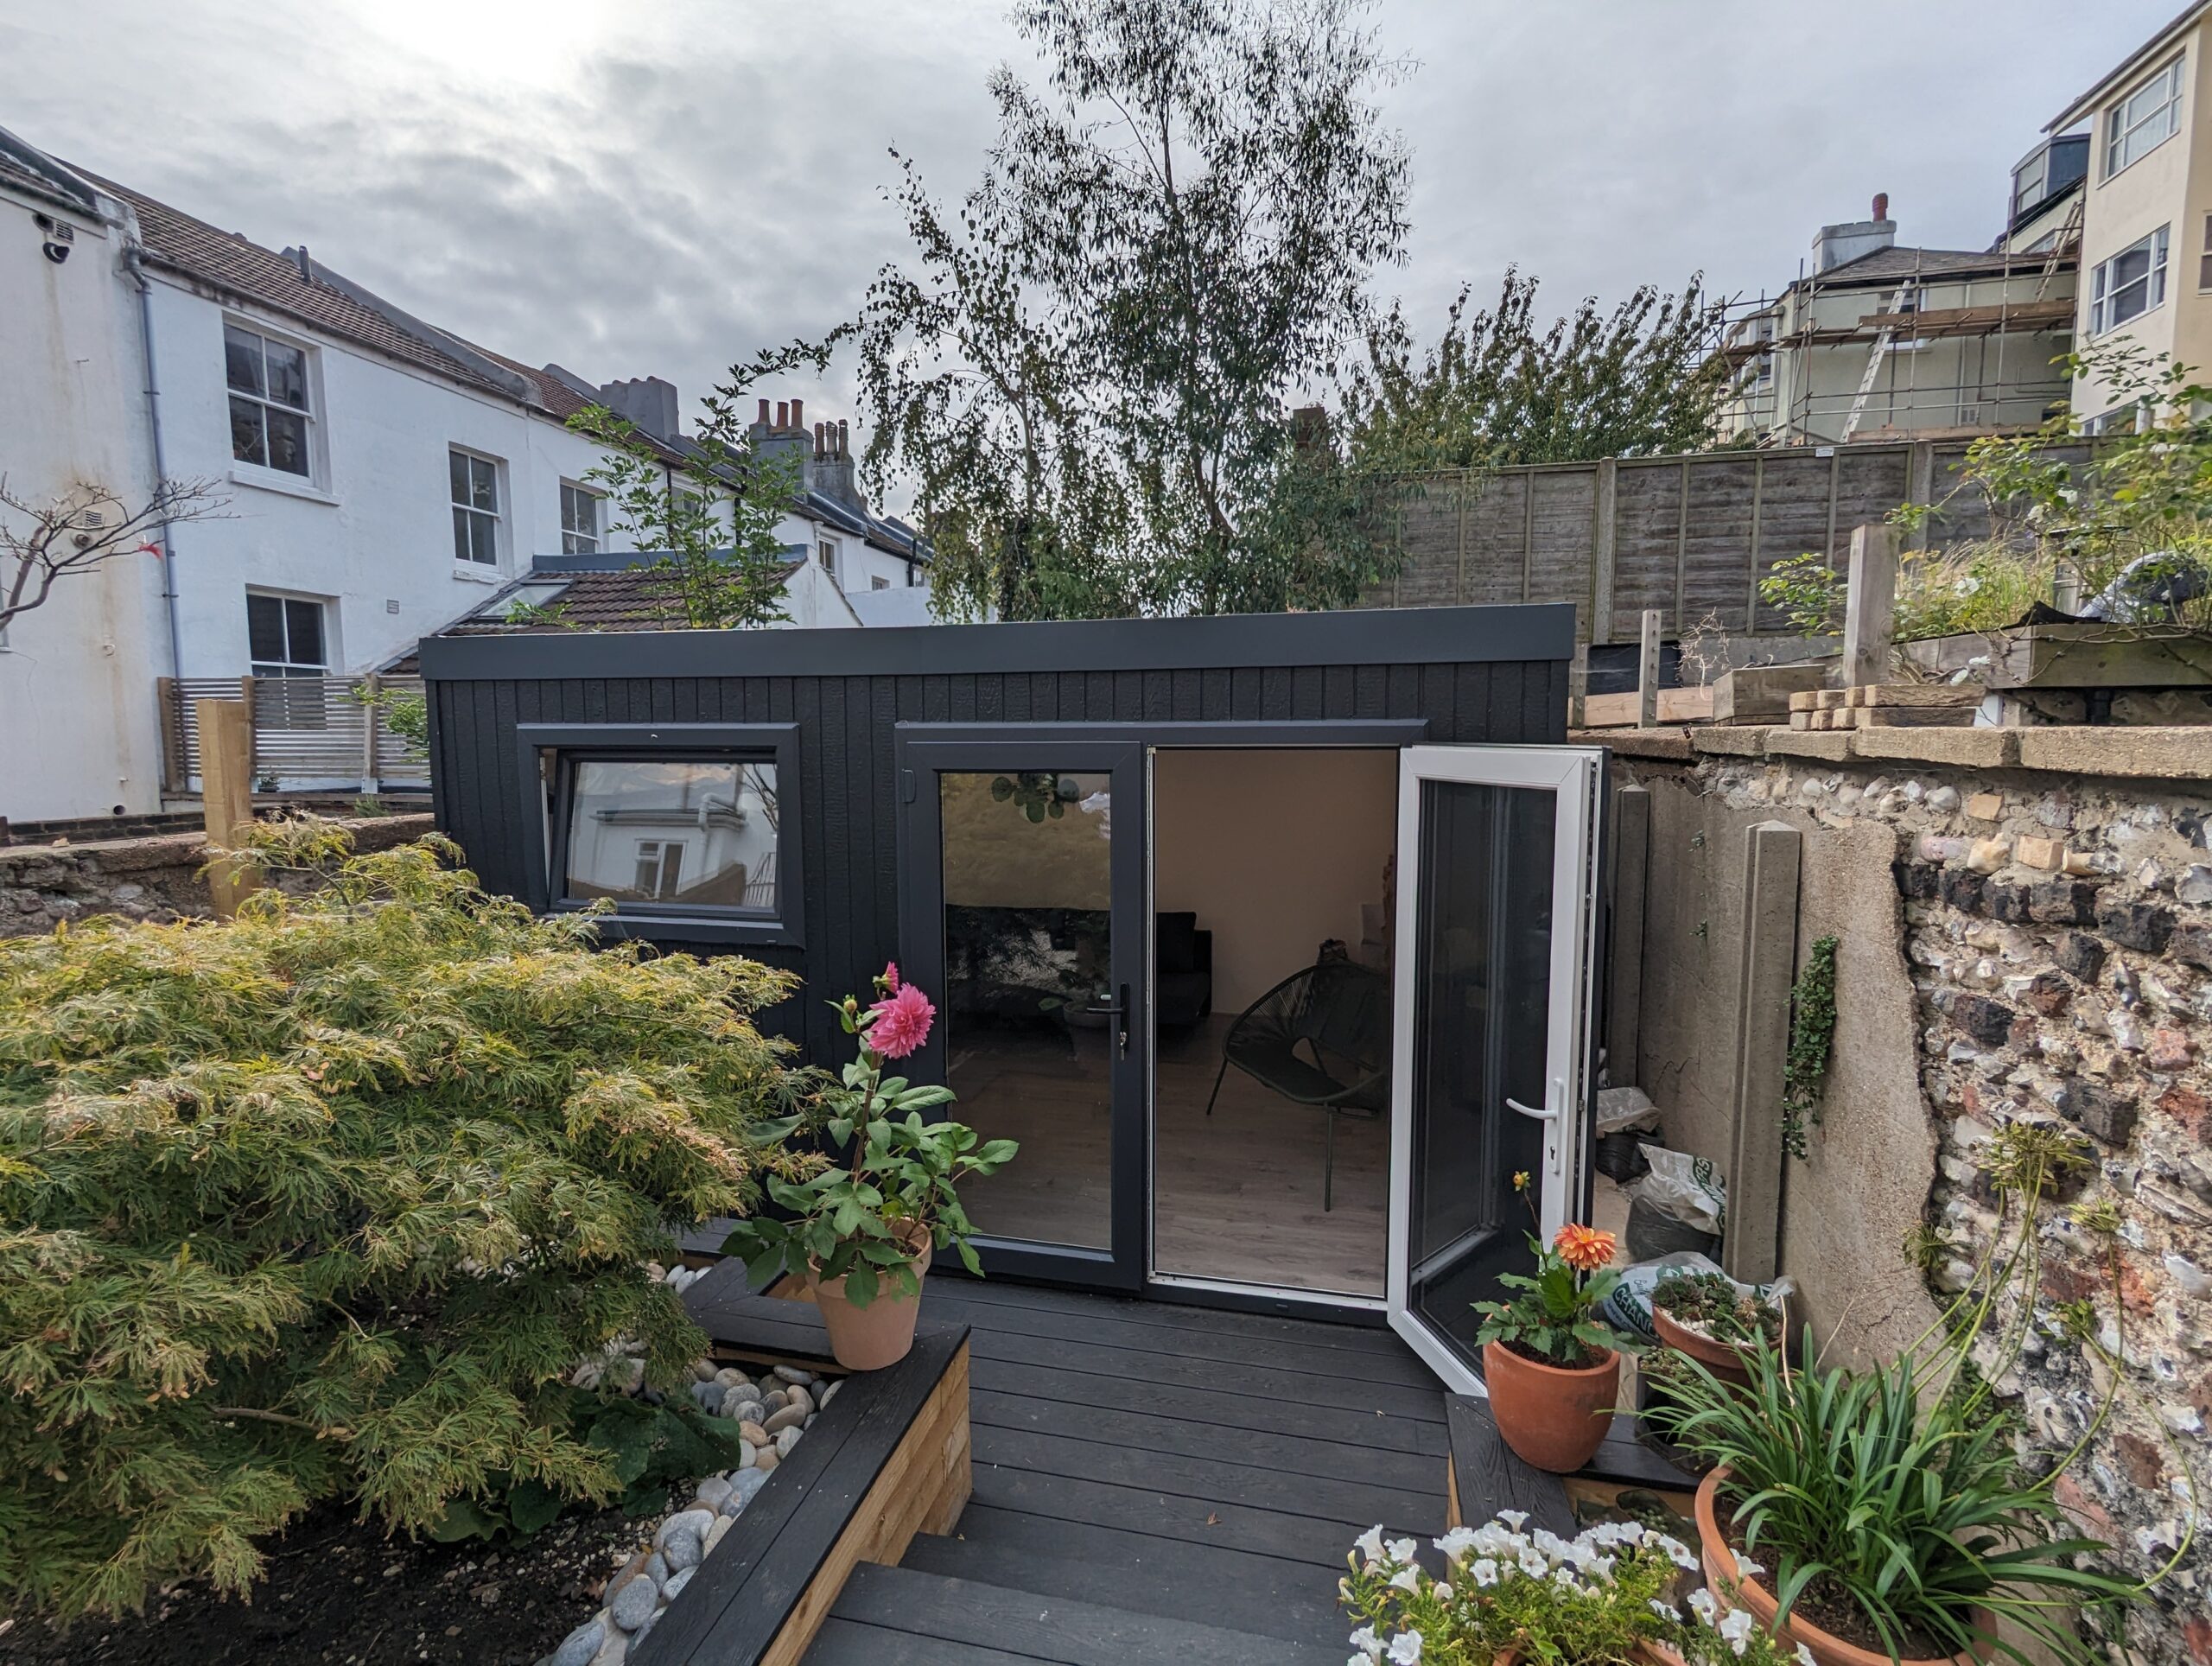
A Note on Exterior Cladding
In some DIY garden room kits, you will also need to think about installing exterior cladding at this point to the garden room frame. You will need to ensure that your garden room is completely waterproof and protected from the elements.
Pent Haus garden room panels already include the exterior cladding made of ToughWood™, and are engineered to create ultra-tough, dense and stable cladding. It looks like wood but has none of the disadvantages of natural wood! Plus, our cladding is maintenance-free, meaning you don’t need to worry about future garden room DIY.
Step 7: Interior Finishing
Finish the Walls and Ceiling
Now it’s time to finish your walls and ceiling to your desired finish. Whether that’s painting the walls, adding internal panelling details or even tiling!
Add Flooring
Lay down the flooring material of your choice, whether it’s wood, laminate, or carpet.
Time To Decorate
The fun part! You can now decorate your Garden Room as you would any other room in your house.
Building a Garden Room yourself using a DIY garden room kit may seem daunting, but with the right process, and basic DIY skills, your dream garden room becomes a very viable option!
Ready to start your self-build Garden Room journey? Use our free tool to design your dream now.
Learn
more…
Explore our insporation guide
Prefer to chat?

